Maintenance Mode
To learn more about maintenance mode see here.
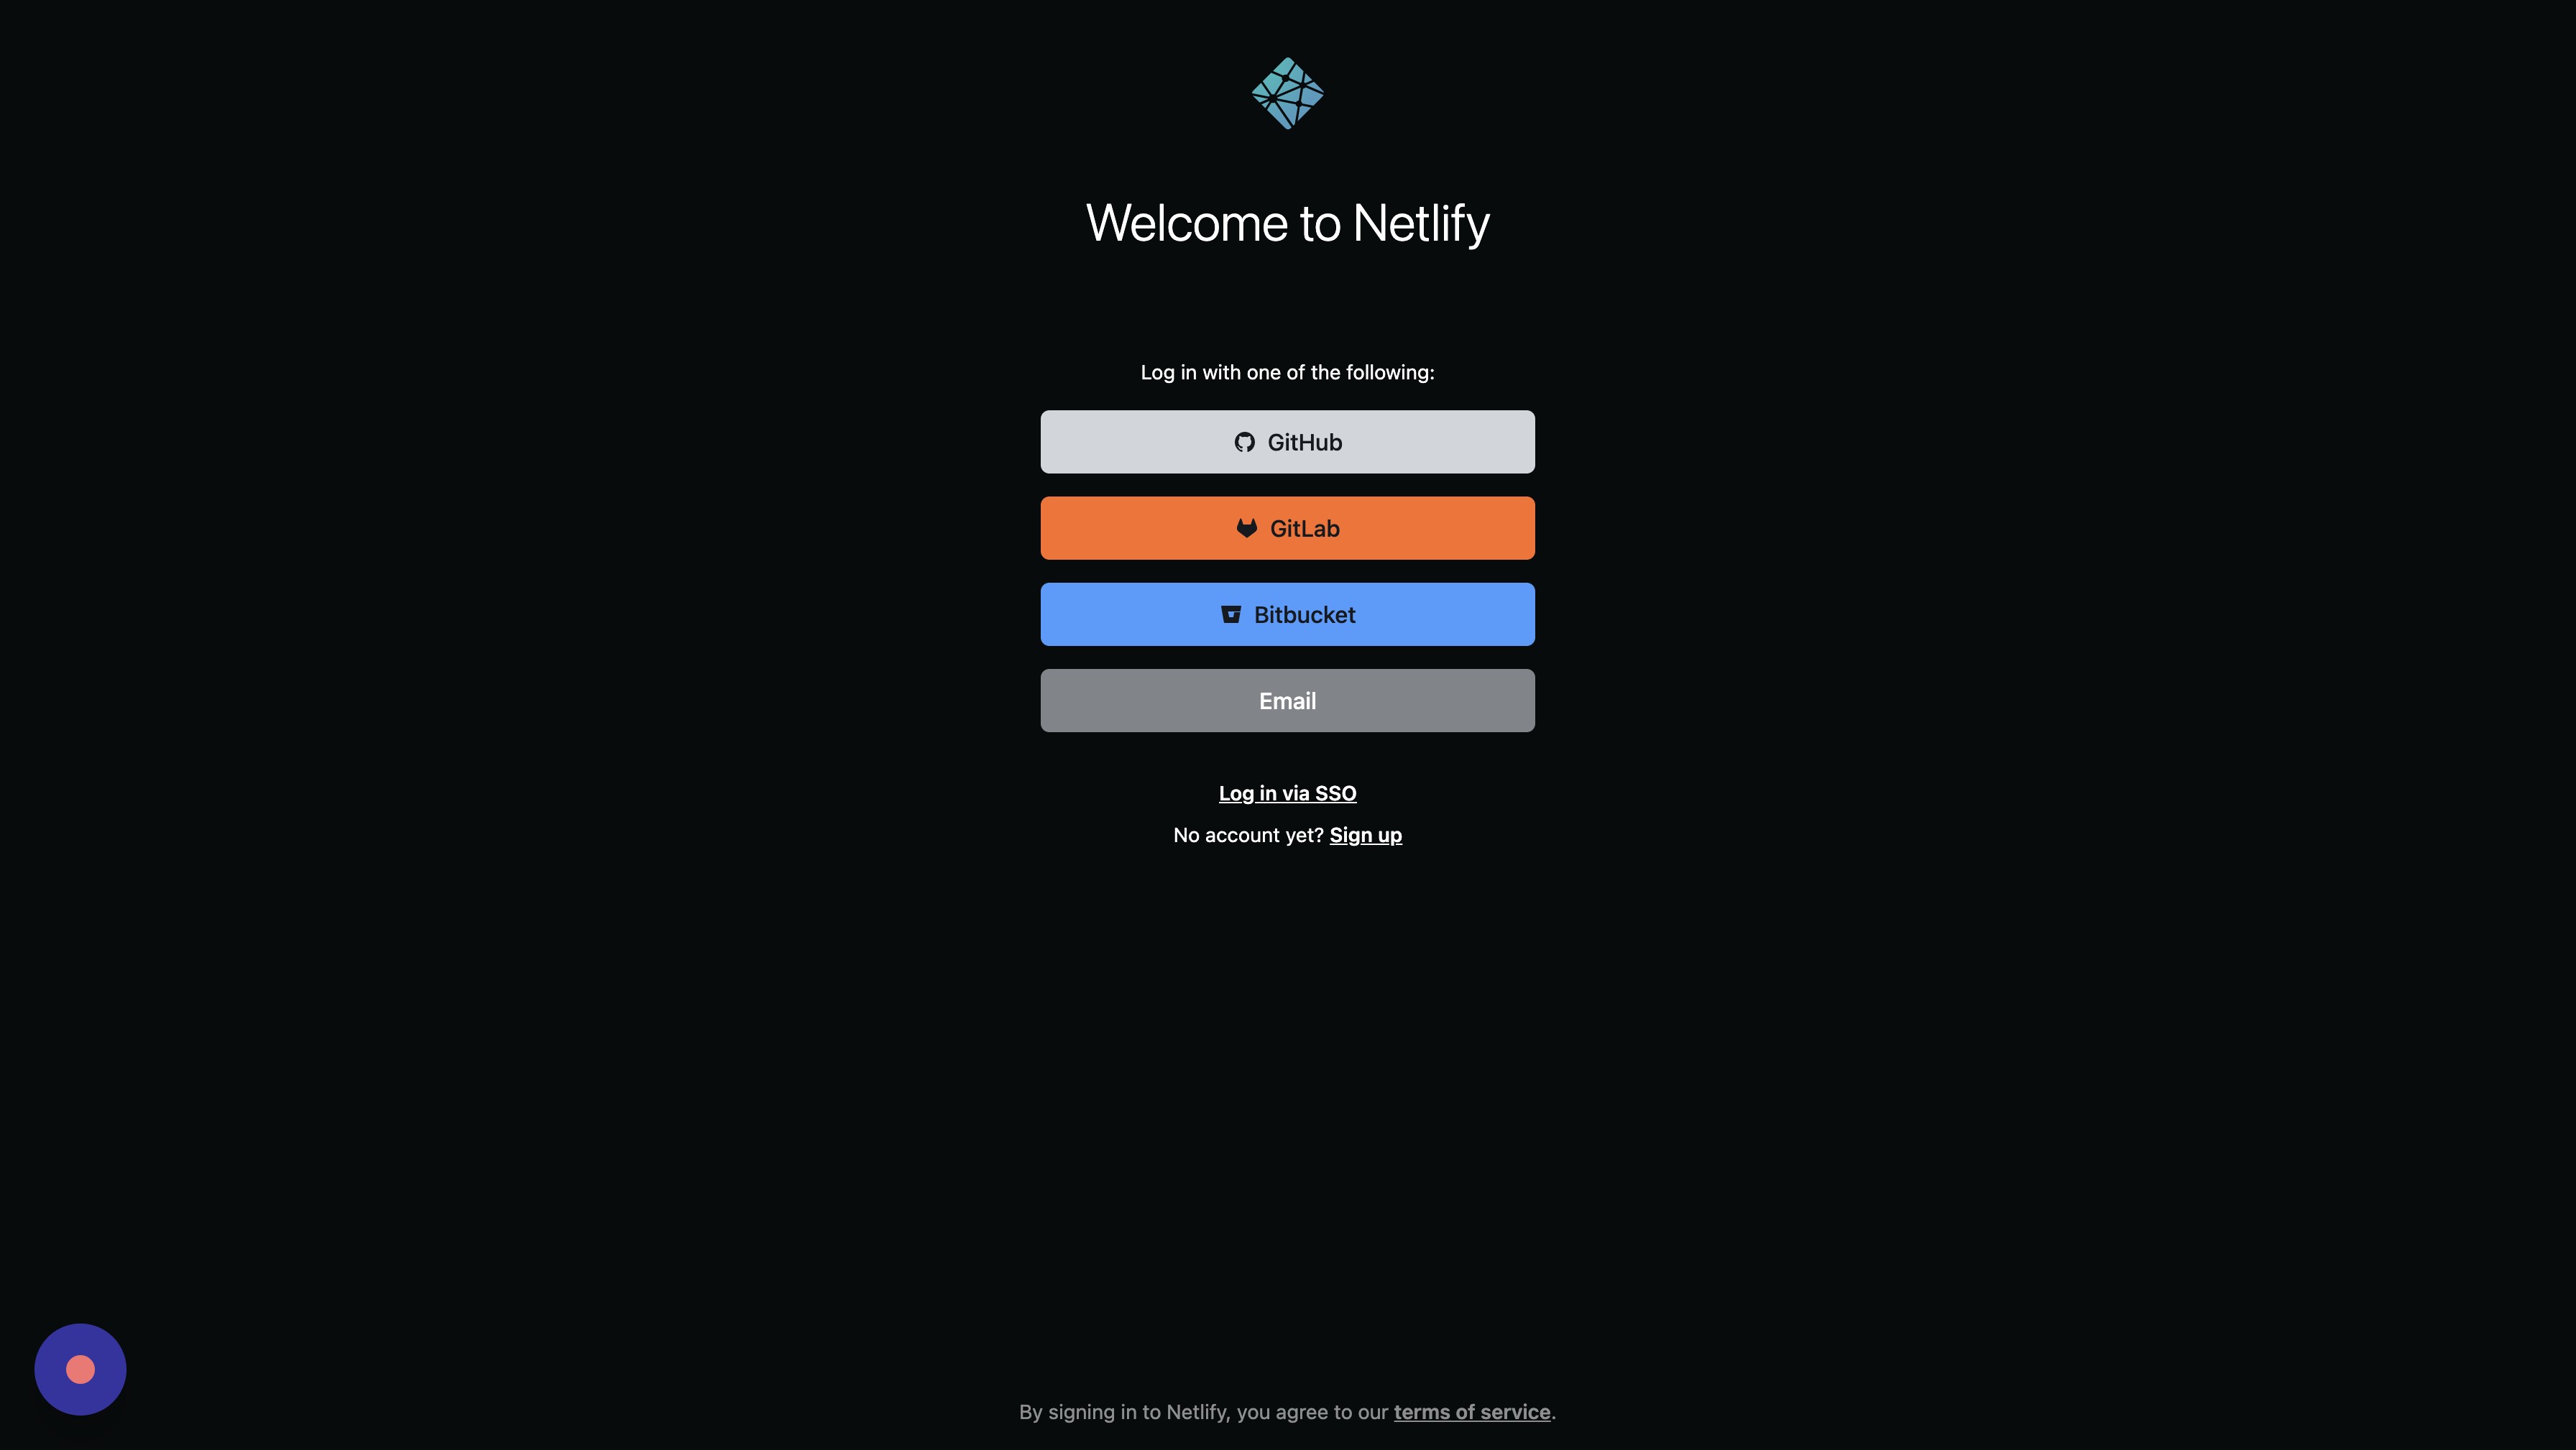
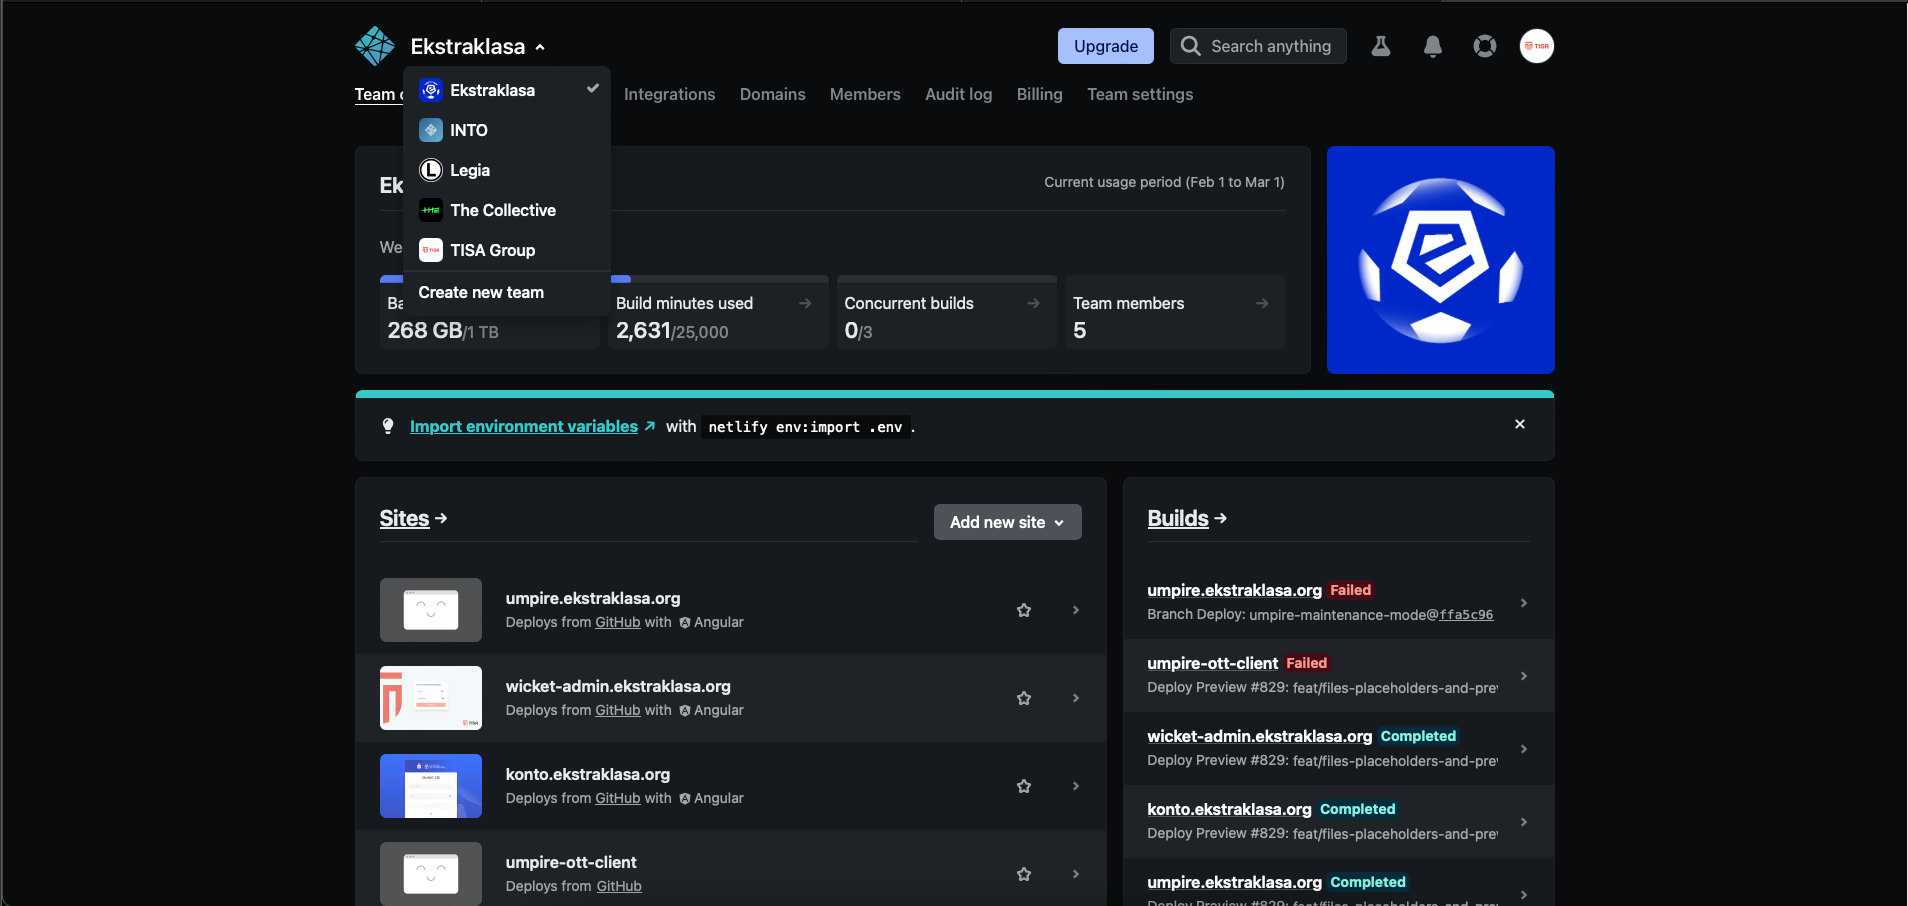
To turn on the maintenance mode follow the steps below. 1. Navigate to app.netlify.com
-
Click "Email"
-
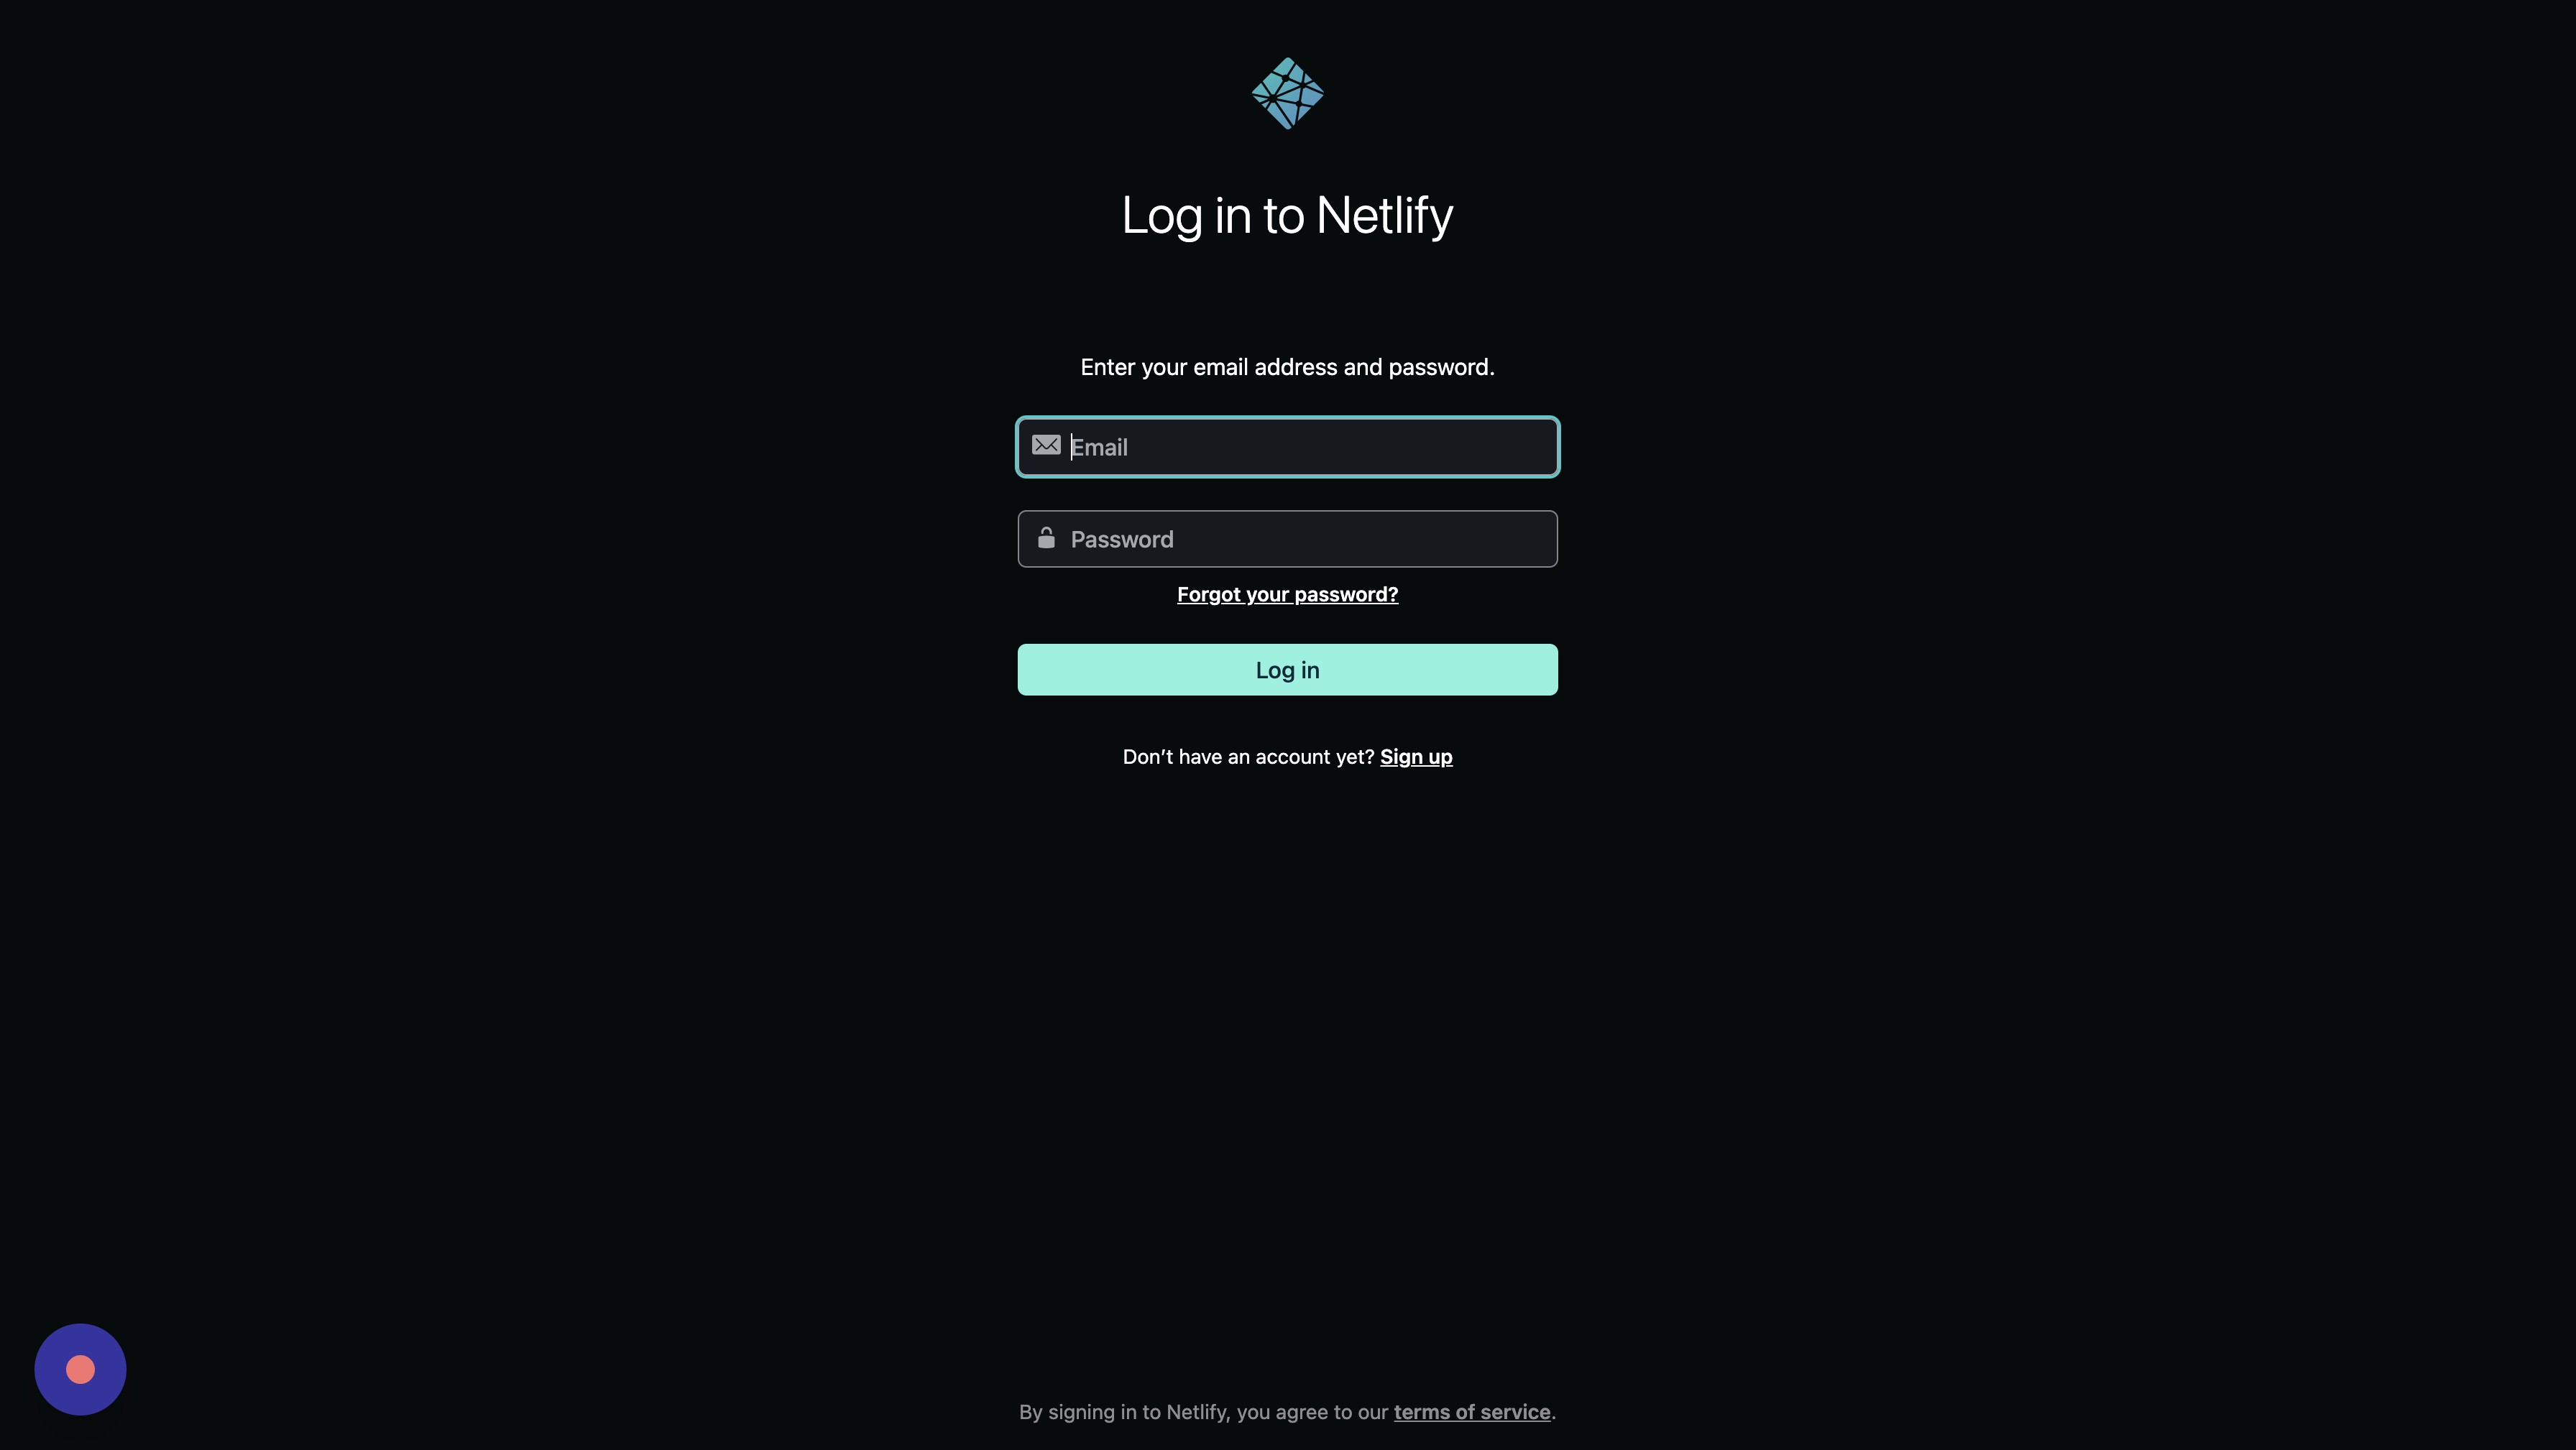
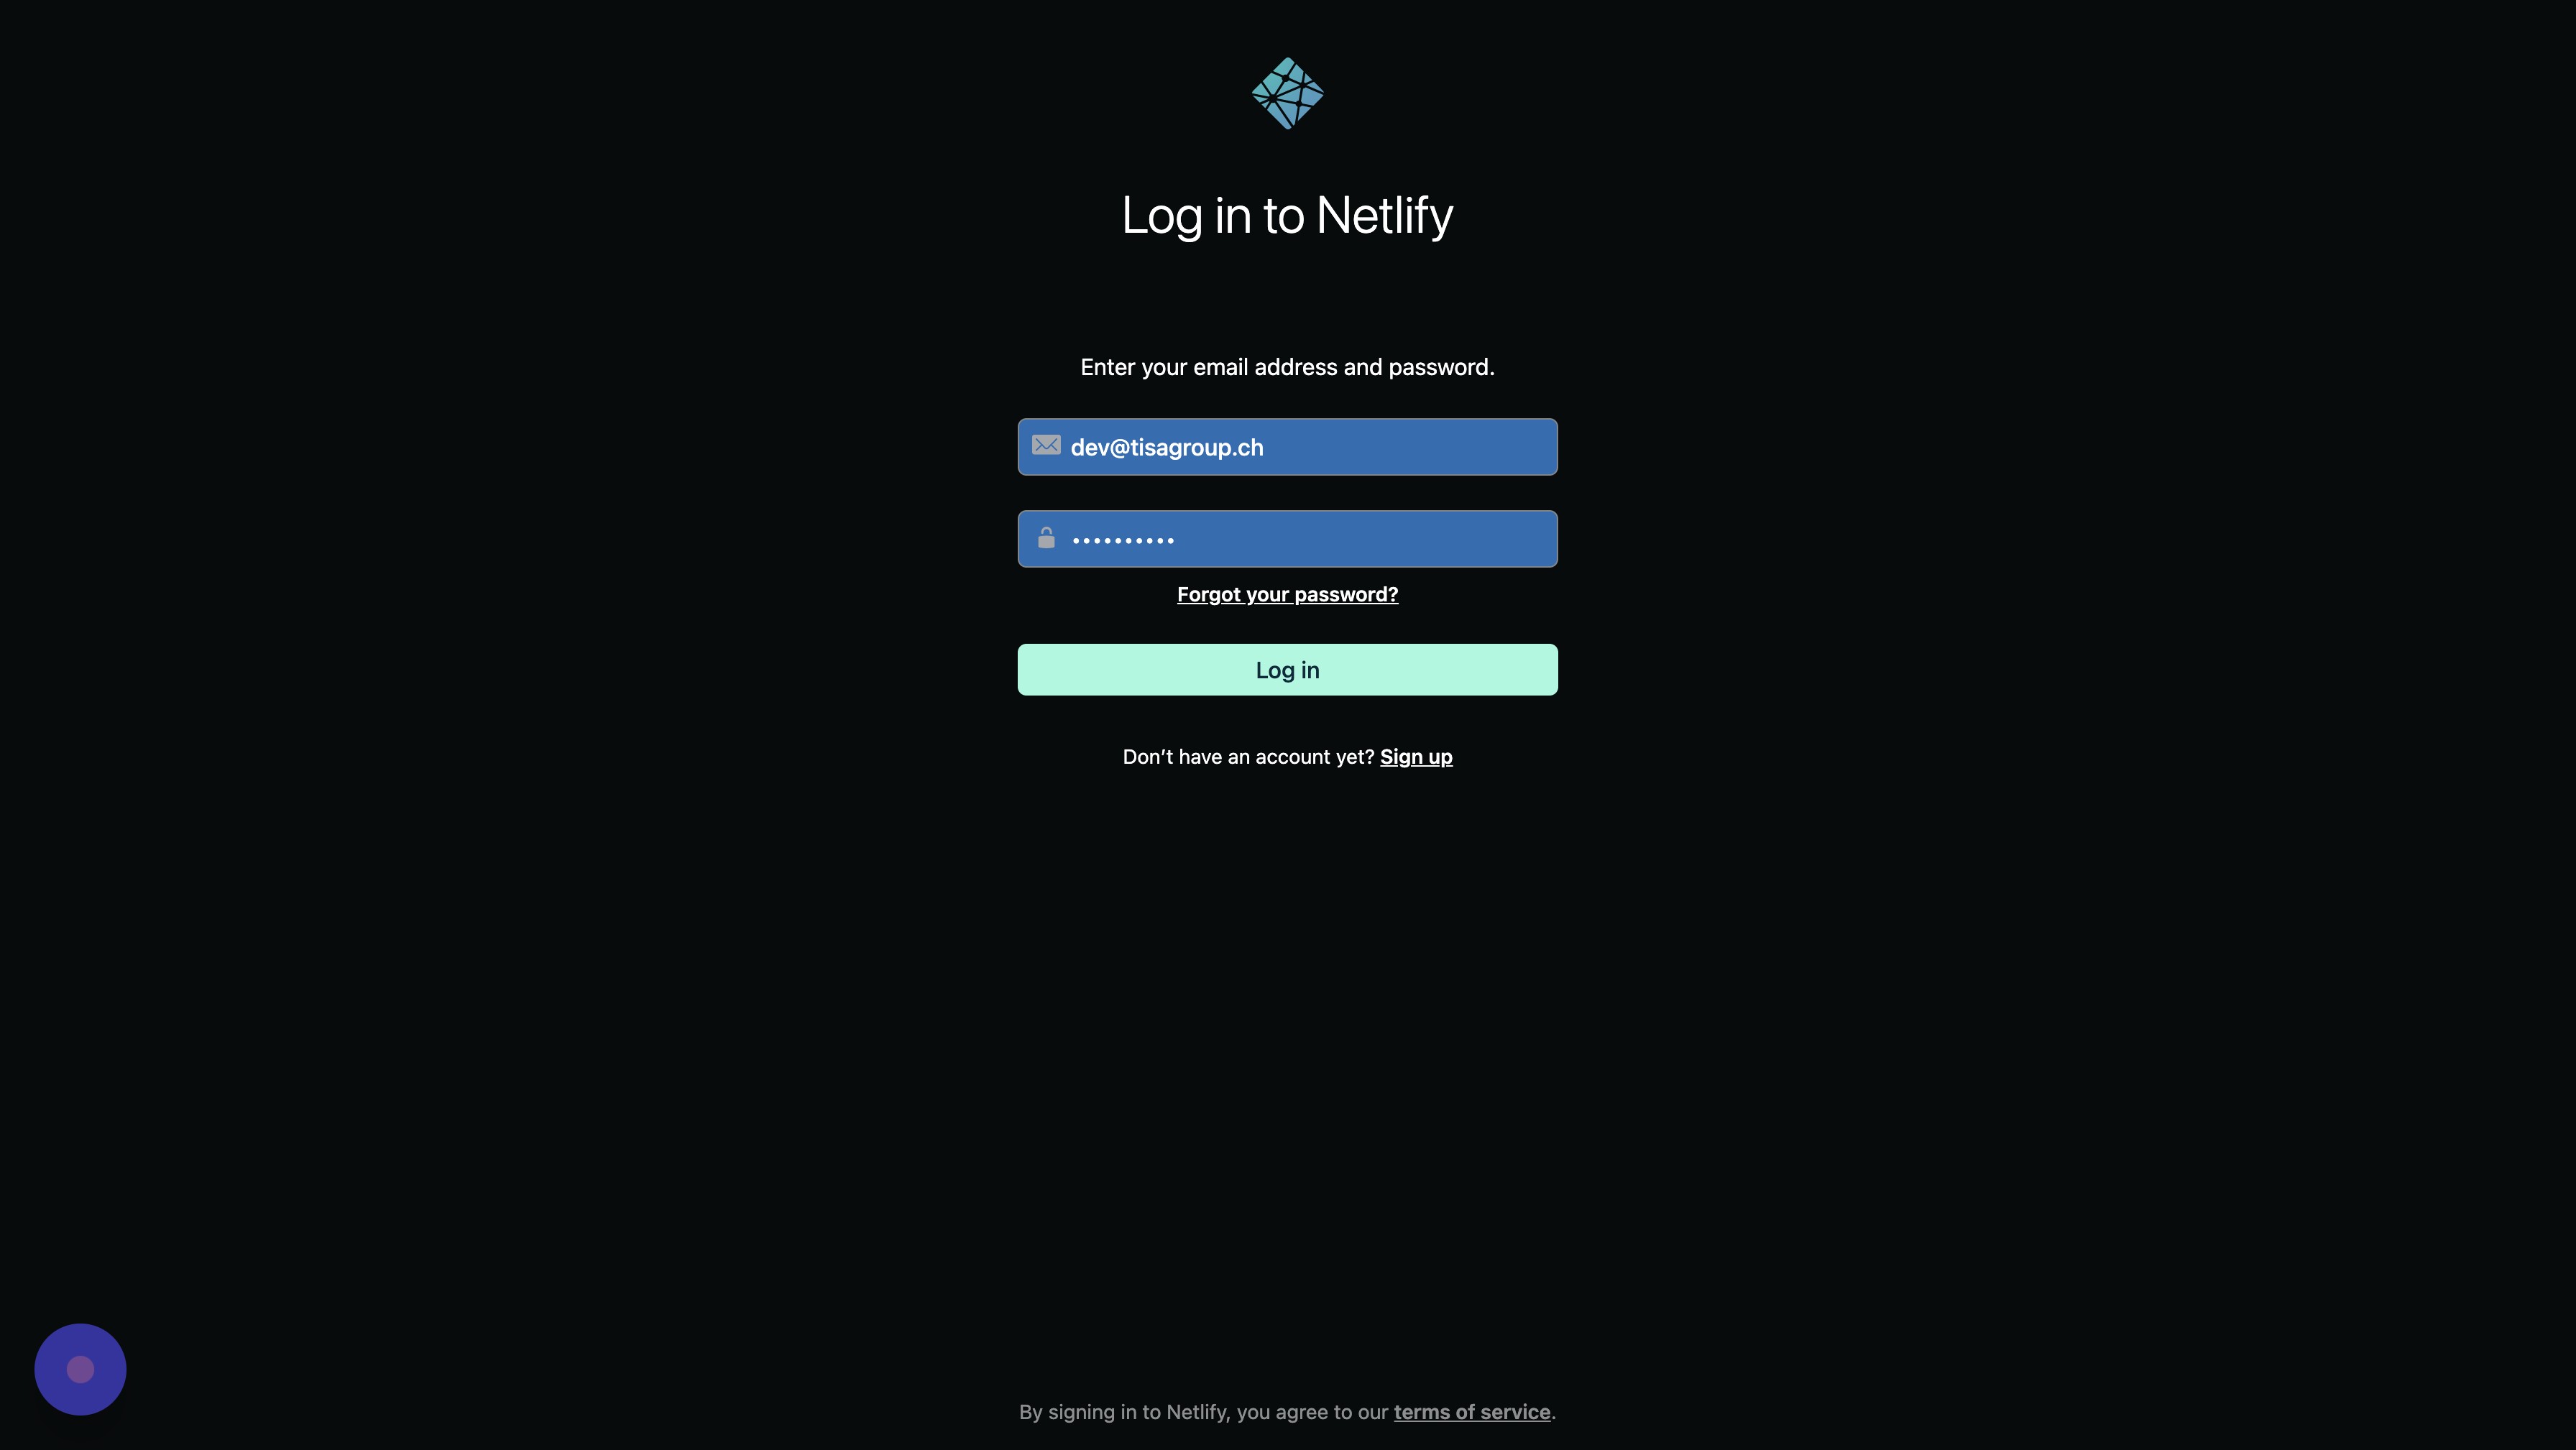
First login into your 1Password account. Then click the "Enter your email address" field and 1password will fill it for you.
-
Click "Log in"
-
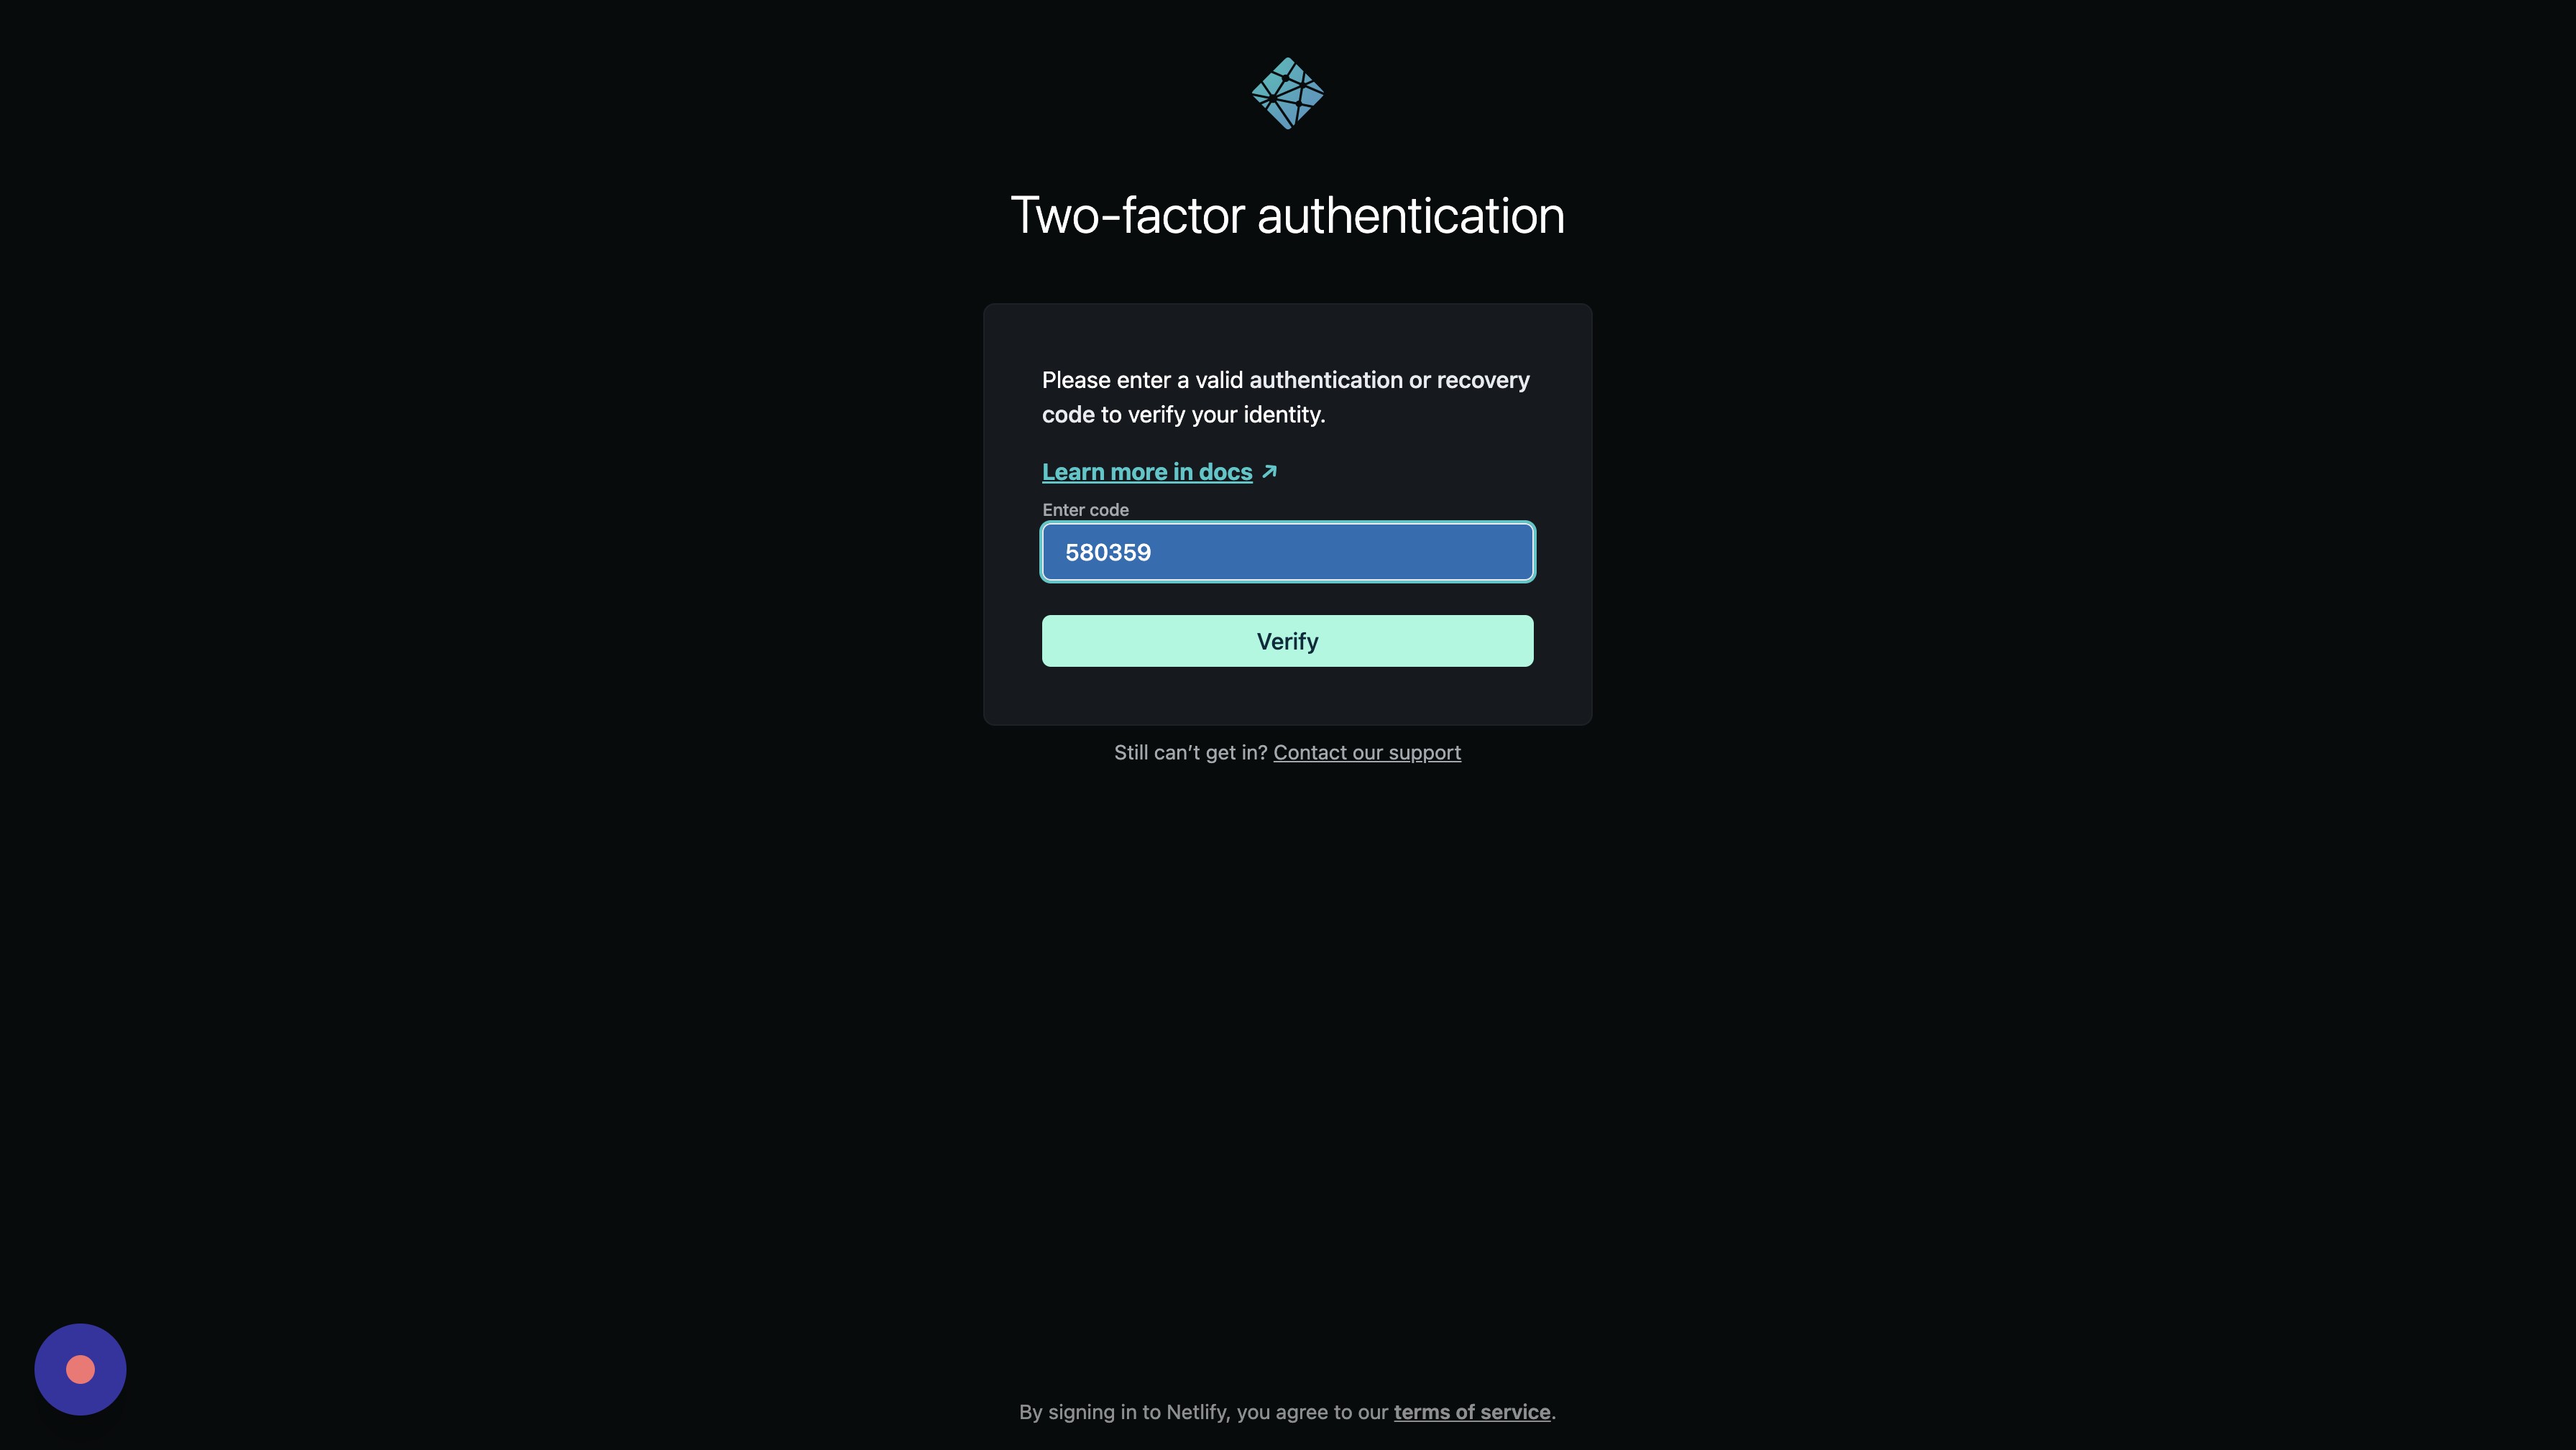
The 2FA code will be provided by 1password as well.
-
Choose the client you wish to run migrations for.
-
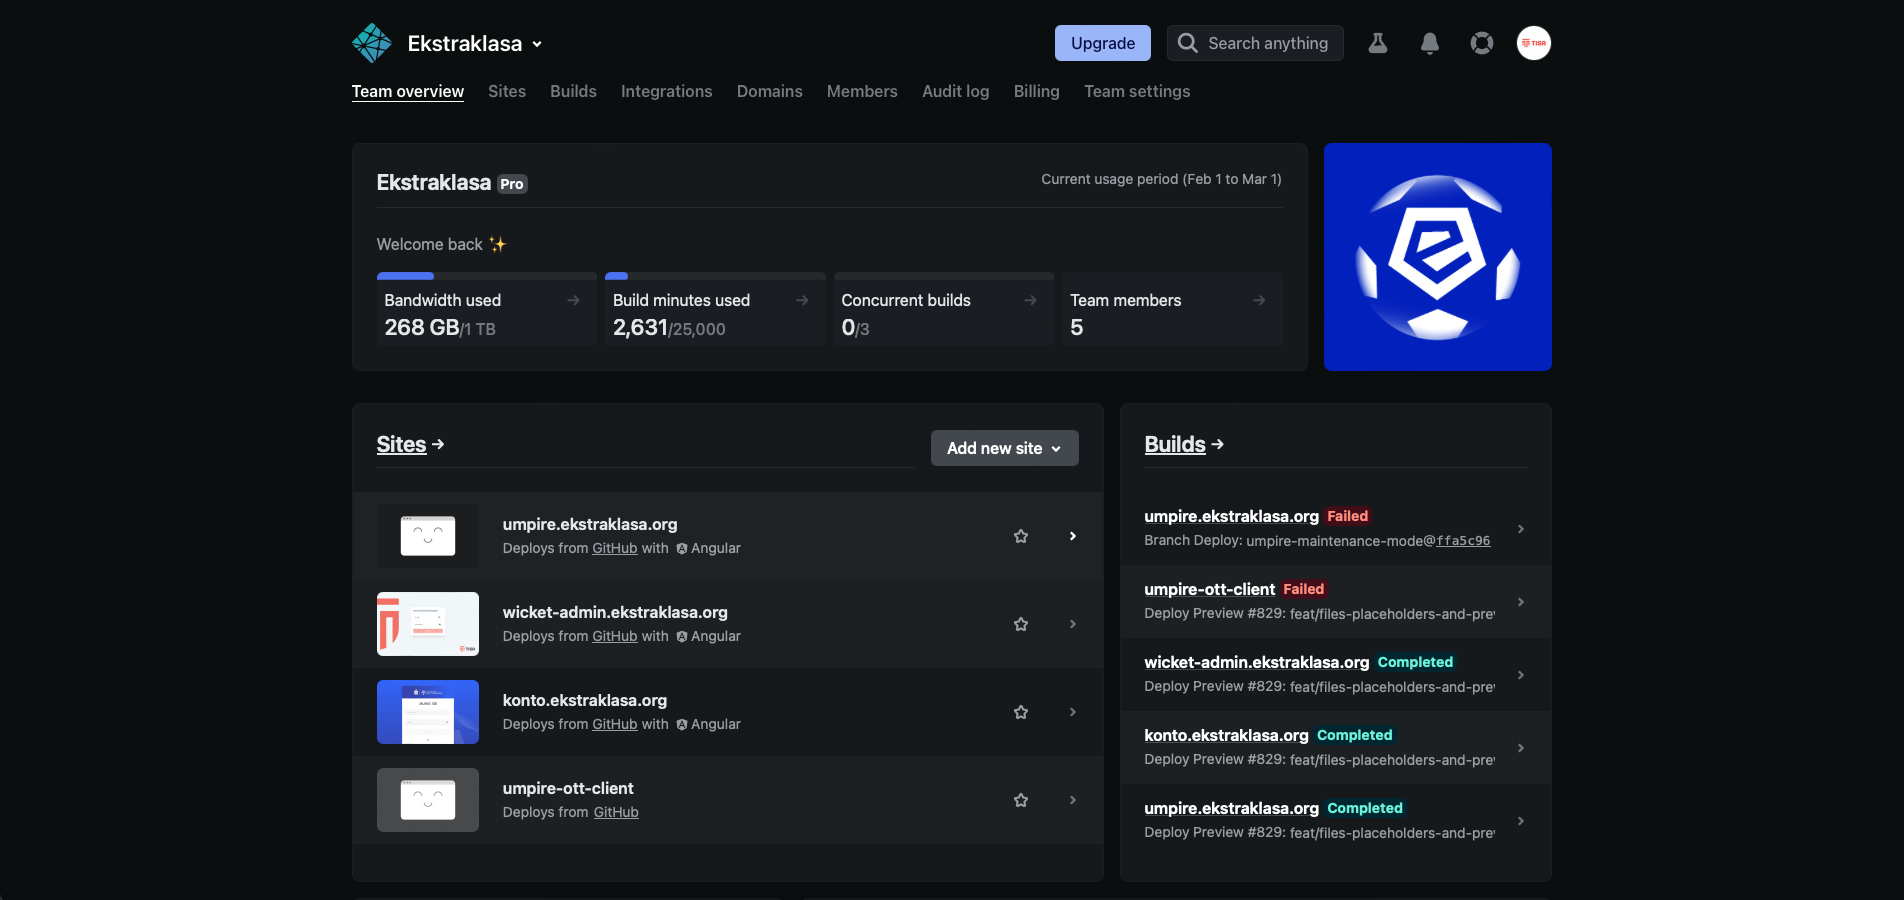
Find and click the wicket project.
-
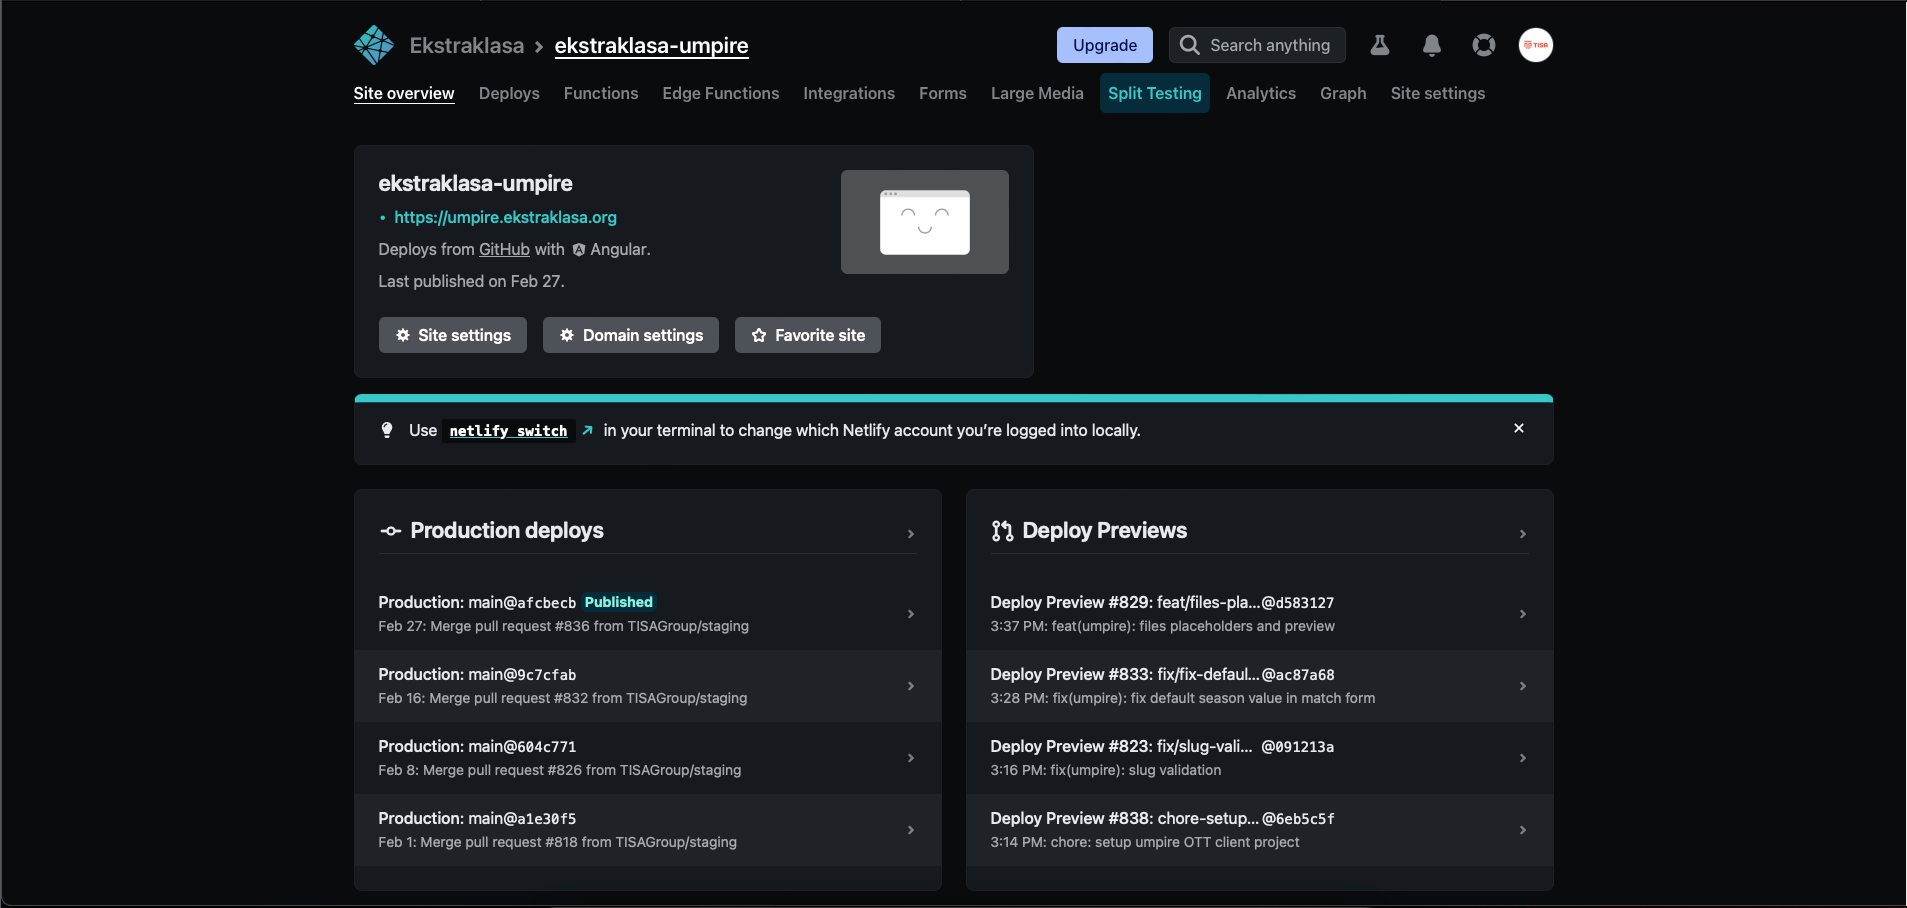
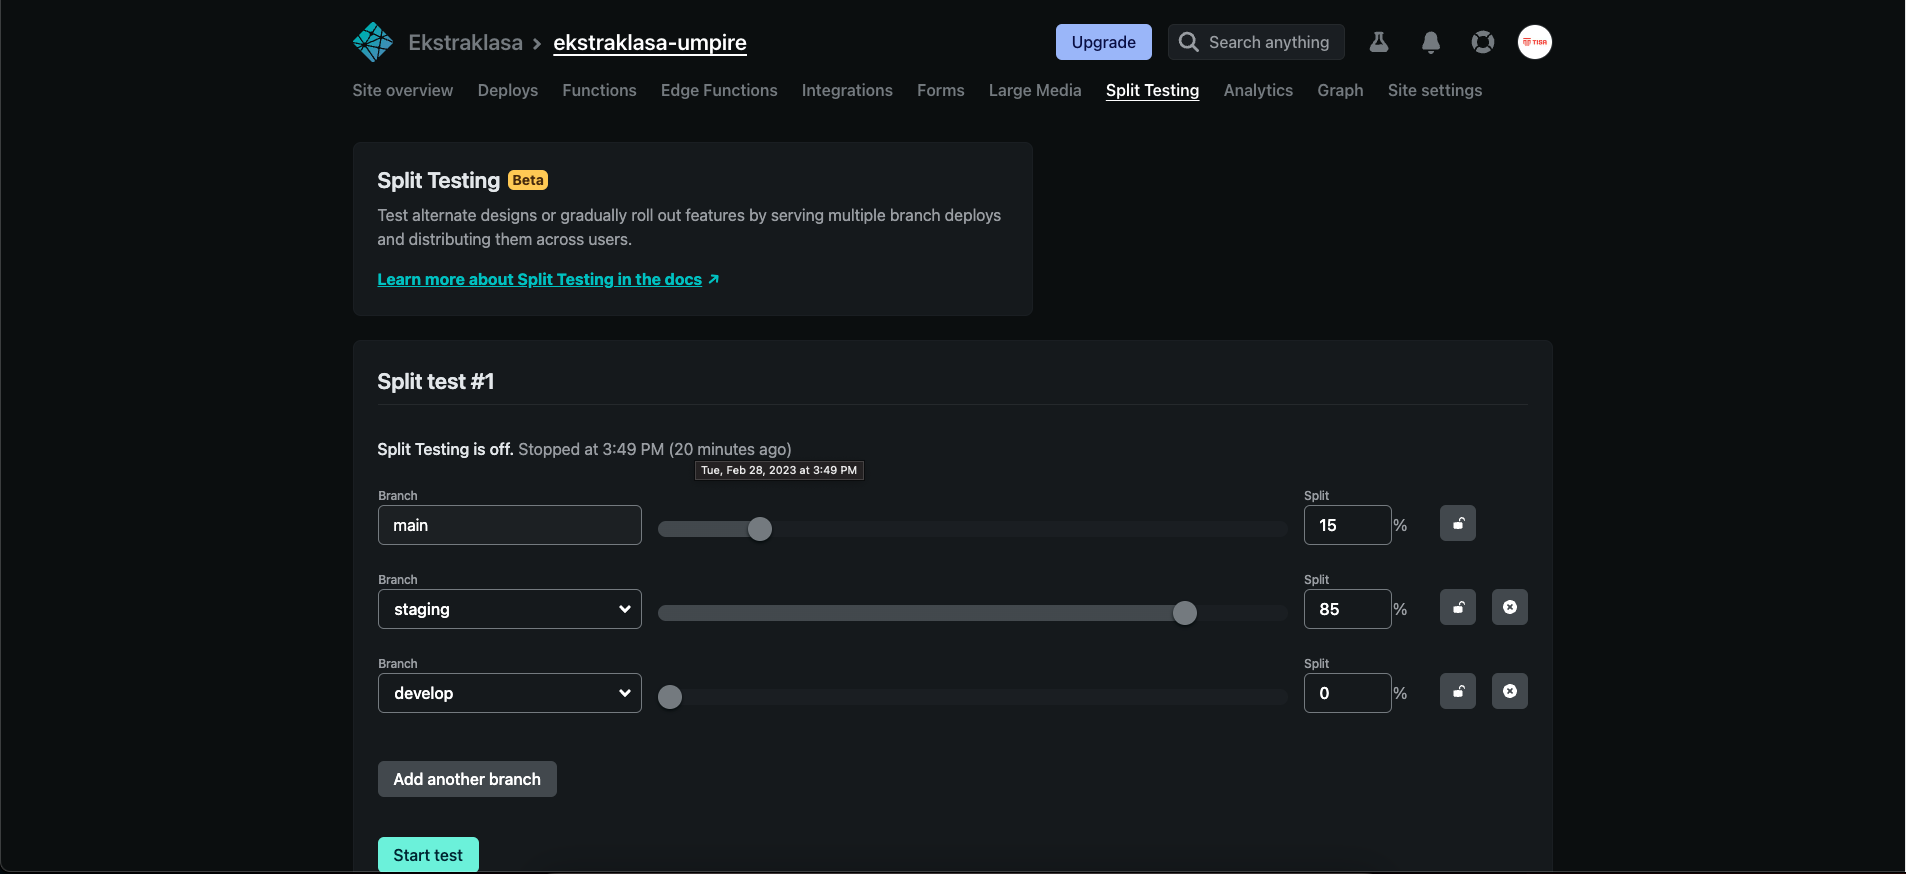
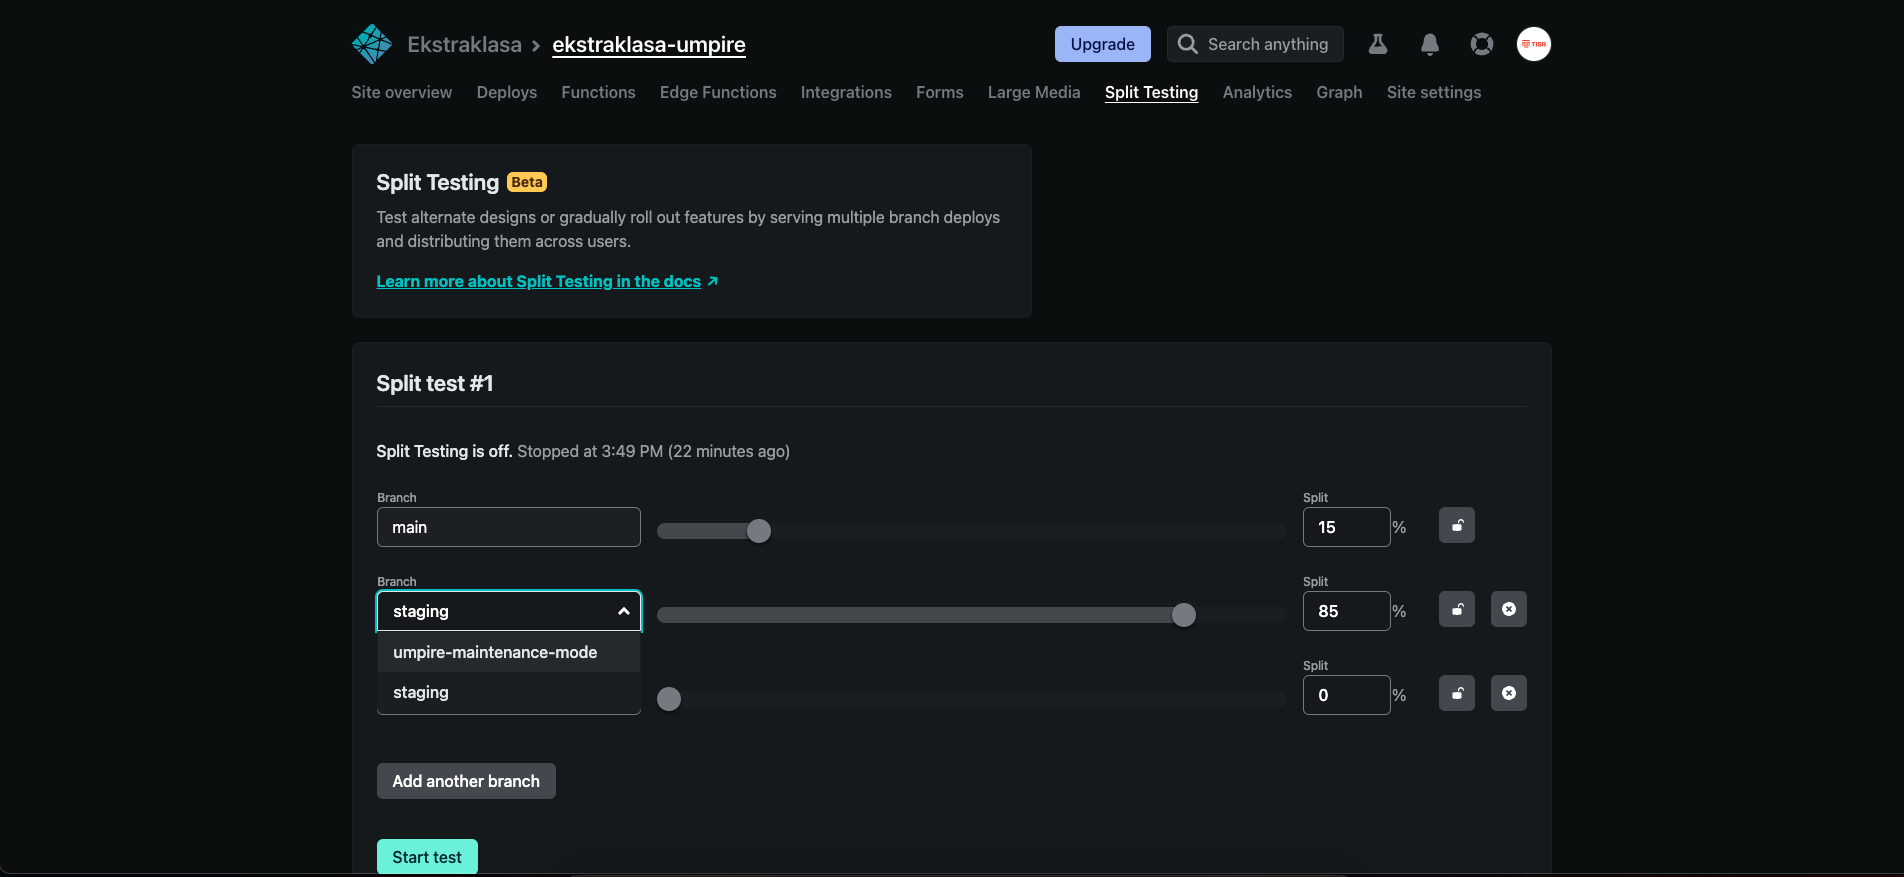
Click "Split Testing"
-
Click "Add another branch"
-
Click "wicket-maintenance-mode"
-
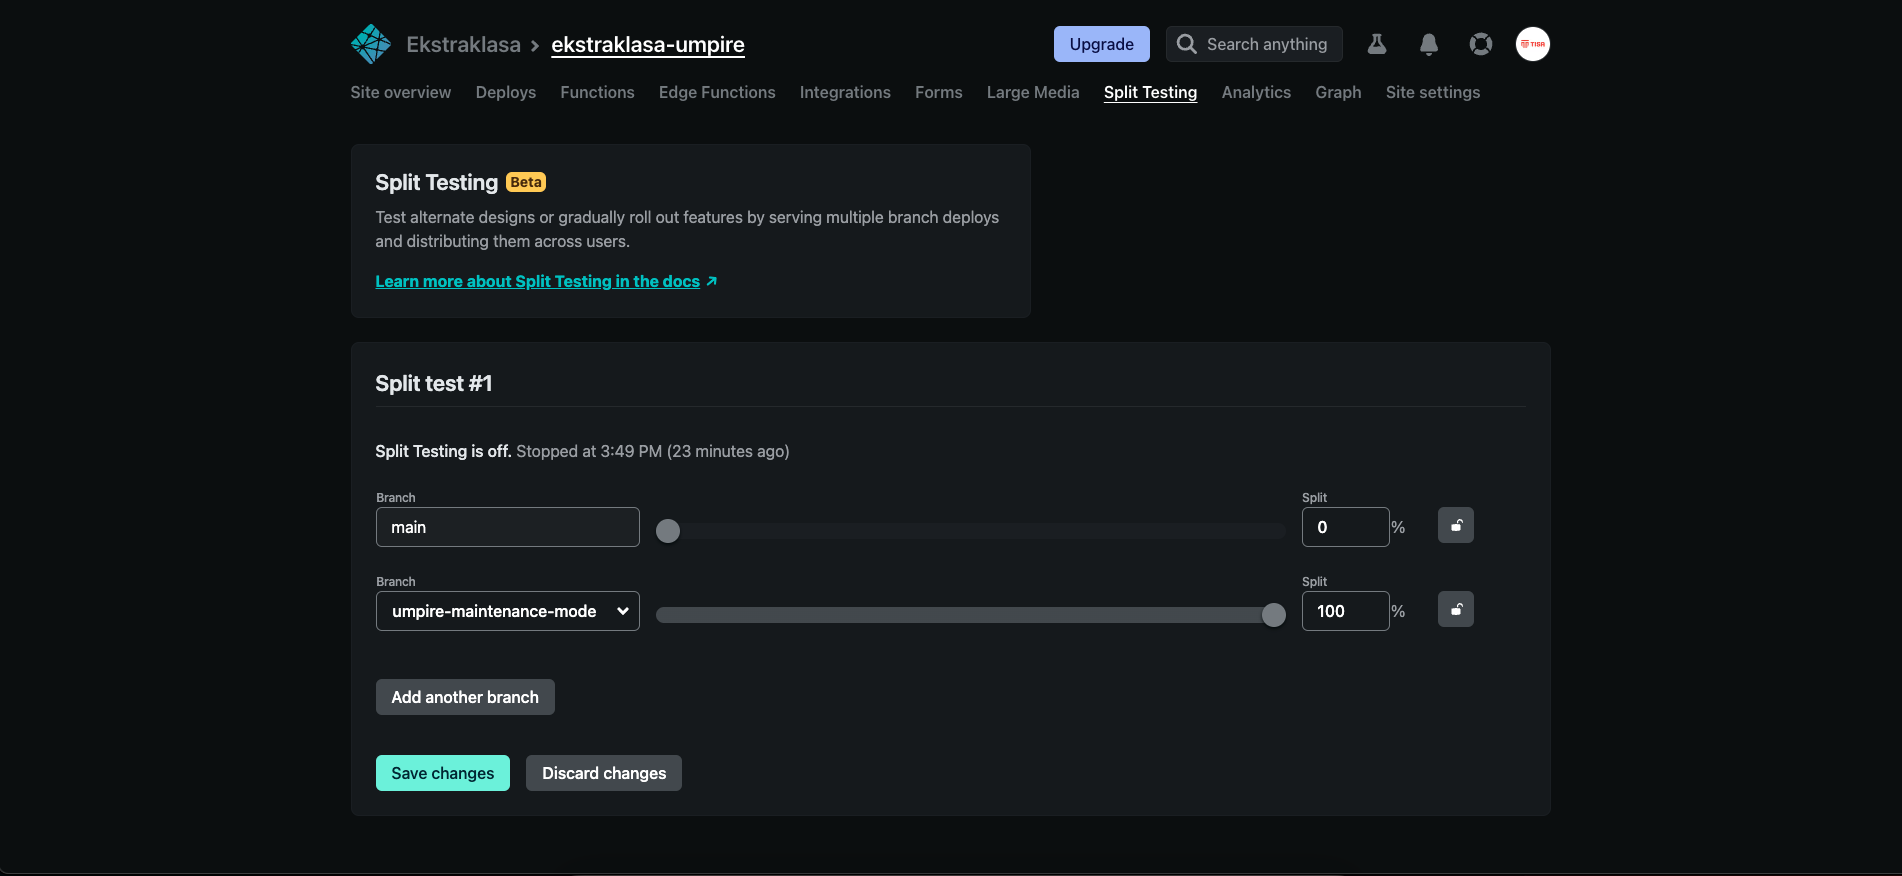
Set the wicket-maintenance-mode to 100%

-
Click "Save changes"
Info
The split testing is in Beta. For this reason there might be some problems, like disabled 'Start' button. If that happens to you, try refreshing the page. You can also go into HTML elements (F12), find the button and remove the
disabledattribute. This however should be fixed shortly -
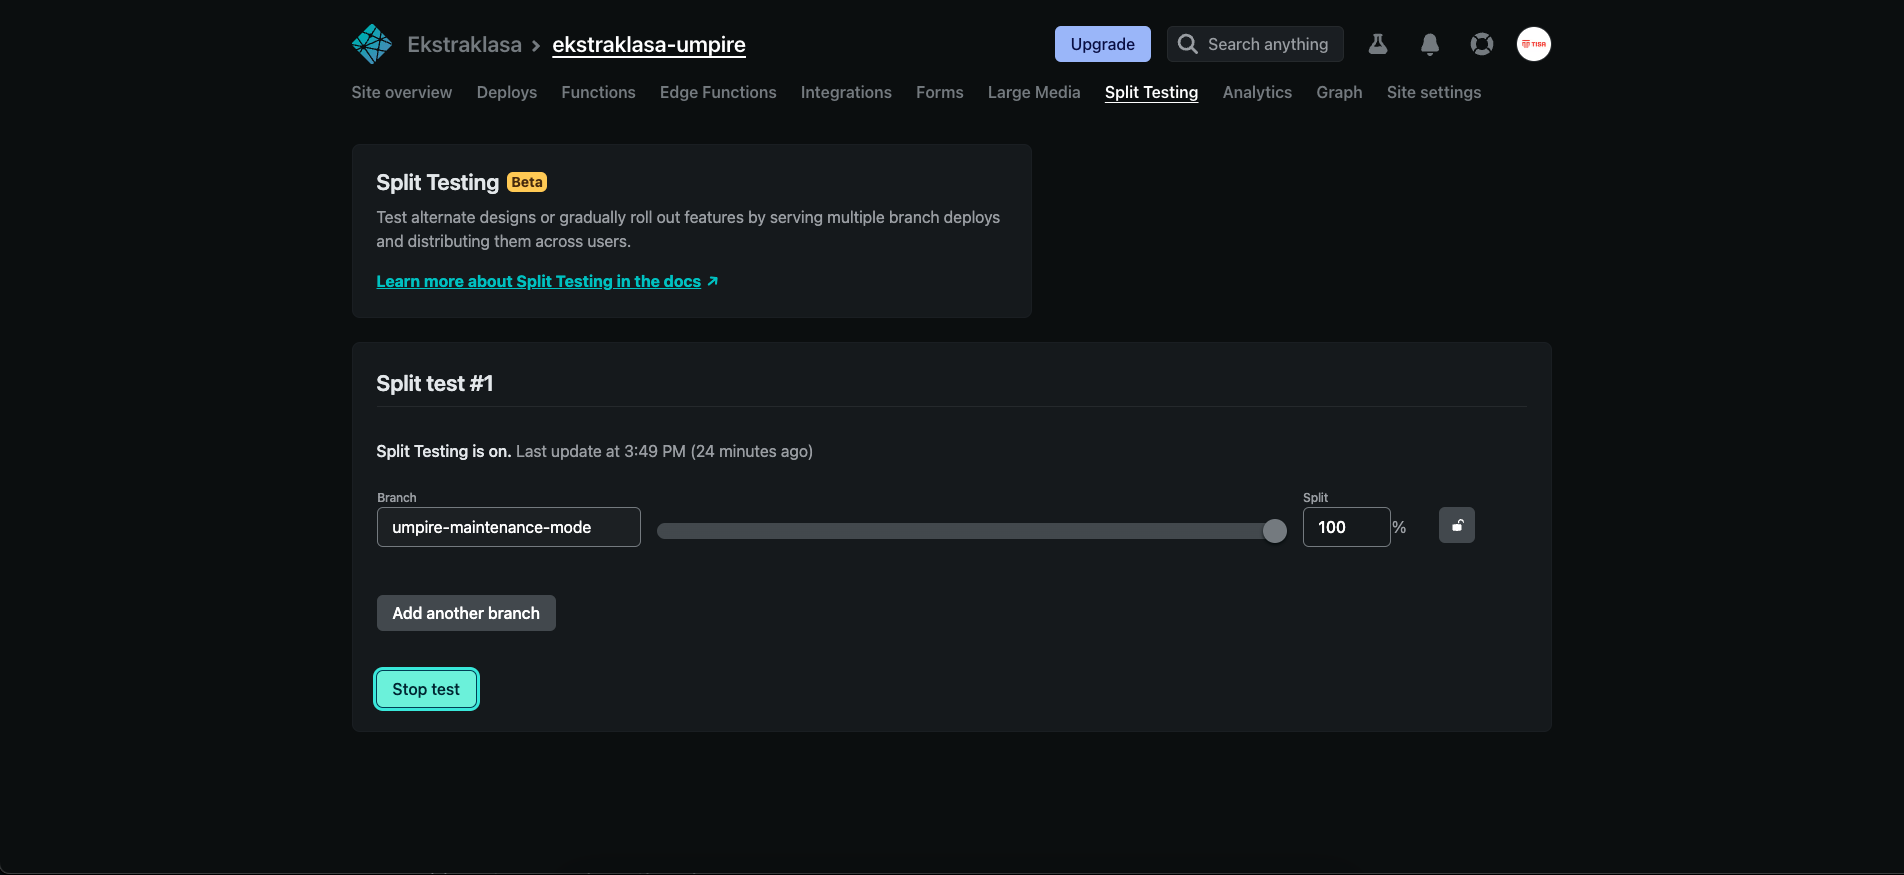
Click "Start test"

-
Go to production wicket app to check if the maintenance mode is running.

-
After the migration is done click "Stop test"
-
Go back to wicket, click reload button to verify that the app is back online.